https://github.com/action-intent/ReactNative/tree/master/Todo
* 예제를 바로 받아서 빌드 하실 때는 index.js의 진입점(App.js)를 './Todo/App' 으로 변경하고 진행하세요
본 포스팅은 위 링크에서 코드를 받으시고 코드와 함께 보시면서 이해하면 좋습니다.
요번엔 책에서 소개하는 간단한 할 일 관리 서비스를 만들어 봅니다.
Heading, Input, TodoList, Button, TabBar의 Component 지향 개발을 적용합니다.
1. App.js로 Main component를 생성
- keyboardShoudPersistTaps='always'
ScrollView의 속성으로 키보드를 닫고 화면에서 onPress이벤트를 받을 수 있도록 합니다.
- style 속성 중 flex:1의 경우 상위 컨테이너의 영역 전체를 채우도록 함(match_parent와 비슷)
2. index.js를 수정하여 진입점을 1에서 생성한 App.js가 되도록 수정
3. Heading.js로 Heading component(stateless) 생성하여 todos 타이틀을 생성
- stateless의 경우 const로 생성하는 방식을 기억하자
- style 속성 중 color , fontWeight를 참고하자
4. App.js의 render내에 Heading component를 가져와 타이틀이 표시되도록 한다.
5. Input.js로 텍스트 입력 Component를 생성
- TextInput의 placeholder 속성은 텍스트 입력 전 보여주는 문구
- selectionColor는 커서의 색을 변경
개발자 메뉴 열기
console.log()를 통해 디버깅 하기 위한 내장 메뉴
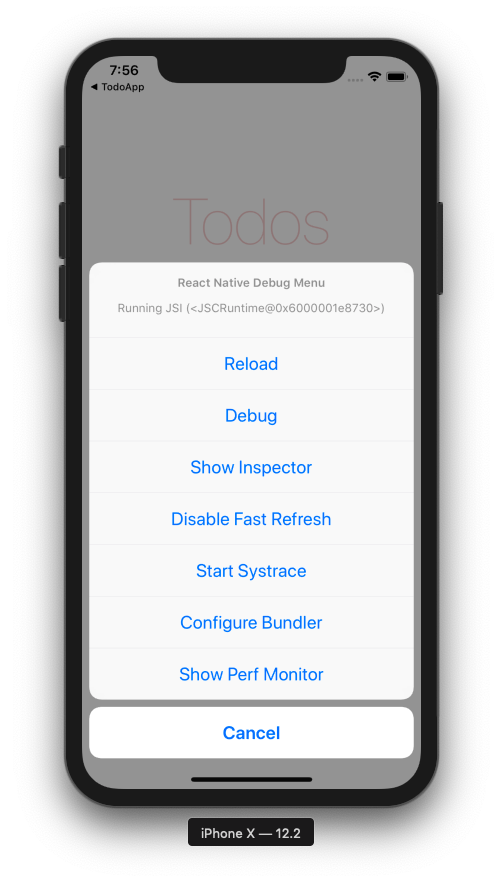
emulator에서
iOS : Cmd + D
android : Cmd + M
Inspector : 요소의 스타일 조사
Perf Monitor : RAM, 성능 관련 정보
* Debug를 눌러 크롬의 개발자 도구를 통해 디버깅이 가능하도록 한다.
6. Input과 App 연결
Input.js
const Input = ({inputValue, inputChange}) => ( ... )
- props로 inputValue(입력값)과 inputChange(입력 시 호출 함수)를 받는다.
onChangeText={inputChange}
- TextInput의 속성으로 onChangeText가 호출 될 때 props 함수인 inputChange가 호출 되도록 한다.
App.js
inputChange(inputValue) { }
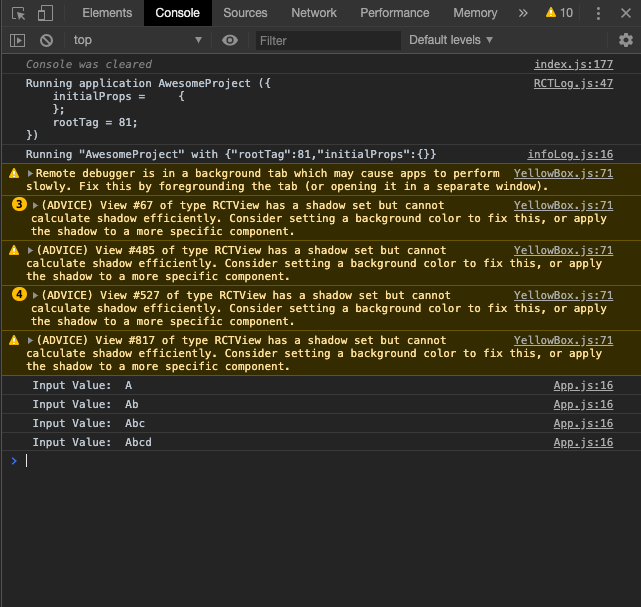
- 콘솔을 통해 입력값을 확인할 수 있도록 하고 state의 inputValue를 수정
- 아래 코드를 통해 Input.js를 가져다 쓰면서 props를 전달
<Input
	inputValue={inputValue}
	inputChange={(text) => this.inputChange(text)} />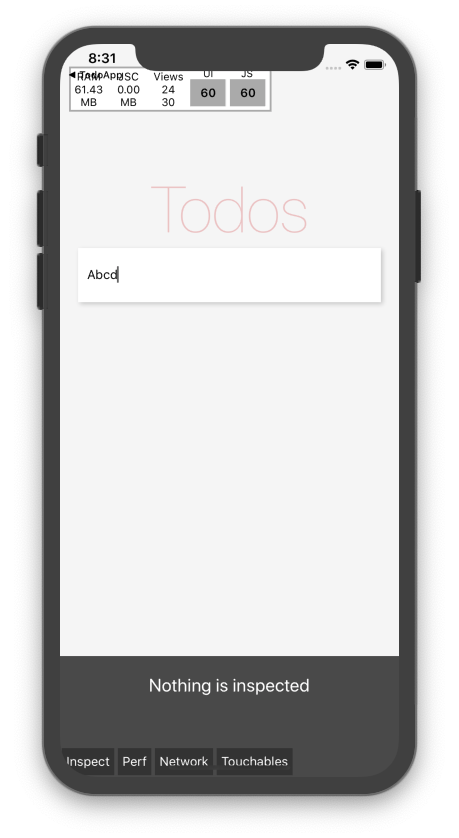
실행 결과 화면
TextInput에 입력 할 때 마다 아래 크롬 개발자 도구에 로그가 찍히는 것을 볼 수 있다.
7. Submit button
App.js에 submit 버튼, 메서드 추가
import Button from './Button'
let todoIndex = 0
...
submitTodo() {
        if(this.state.inputValue.match(/^\s*$/)) { //inputValue가 비어있는 경우
            return
        }
        const todo = {  //todo item 생성
            title: this.state.inputValue,
            todoIndex,
            complete: false
        }
        todoIndex++
        const todos = [...this.state.todos, todo]   //새로 생성한 todo item을 todos state에 추가
        this.setState({ todos, inputValue: ''}, () => { //state를 갱신하고 콜백 함수로 로그를 남긴다.
            console.log('State: ', this.state)
        })
    }
Button.js 생성(stateless) : TouchableHighlight
- underlayColor는 눌렸을때 배경색
- submitTodo 메서드를 구조 분해 할당
- onPress={submitTodo} 버튼을 누르면 부모의 메서드 작동
App.js에 Button 추가
- this.submitTodo = this.submitTodo.bind(this) 생성자의 메서드 변수에 바인딩
- <Button submitTodo={this.submitTodo} /> Button component 추가
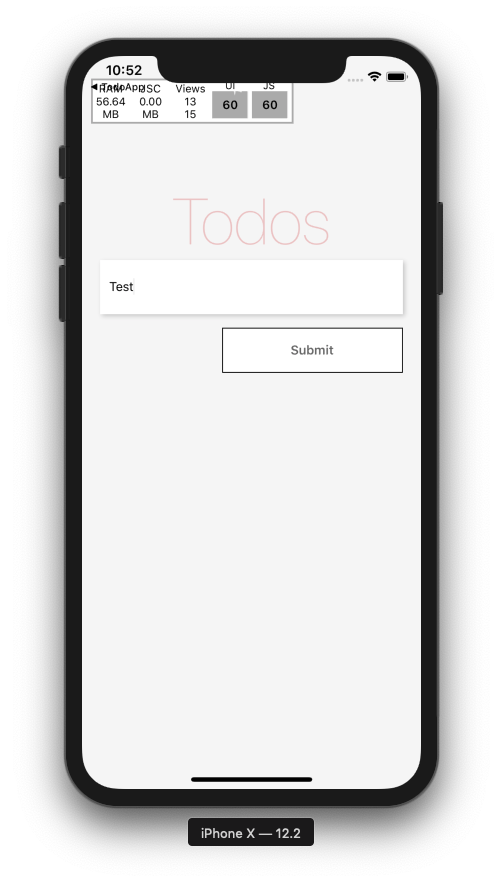
Text를 입력하고 Submit을 누르면 InputText가 비워지고 개발자 콘솔에 추가된 todo 정보가 출력된다.
'React native' 카테고리의 다른 글
| Style (0) | 2019.12.27 |
|---|---|
| Todo 2 (0) | 2019.12.25 |
| State, Props, Lifecycle (0) | 2019.12.25 |
| Project 생성 및 빌드 (0) | 2019.12.25 |
| React native intro (0) | 2019.12.25 |